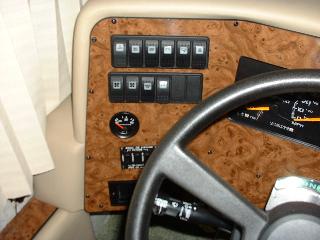
A deflector was fabricated from clear poly-carbonate to improve air circulation to front of coach and block direct air currents from the bed. It's installed with Velcro so it can be easily removed when desired.

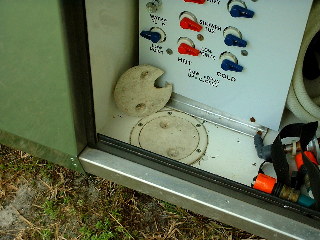
The openings for water and electric service were replaced with marine access plates. There are 2 plates that I use. One is solid and one has a cutout for the hose or cord. When I installed them, I also replaced the plywood used to cover access holes for the pump with the same plates.
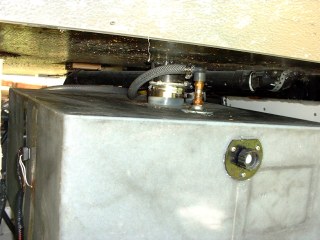
In order to help quiet the noisy fresh water pump, I re-piped following the instruction from the pump manufacturer. They recommend using flexible hose to eliminate transmission of vibrations. I also relocated several places in the plumbing that wouldn't drain properly.
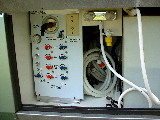
A water pressure gauge, an external shower, and a faucet were added. I also installed a switch for the pump in the water control bay and added piped flushing for the black and gray waste tanks. There are 12 volt solenoids with switches below the pump switch.
When I installed the pressure gauge I found out that I was only getting 30 PSI when hooked up to external water sources. I removed the water regulator and now use a separate regulator and get 50 PSI. Showers are a lot nicer.
I added another set of tank level gages. I got a good deal at Camping World on a set of "Acu-Gage" gages (Snake River Electronics) they were not going to carry anymore. ($15..Retail was $144) I put the control panel in the cabinet in the bathroom. These gages have no parts inside the tank and therefore don't give incorrect reading due to dirty probes.
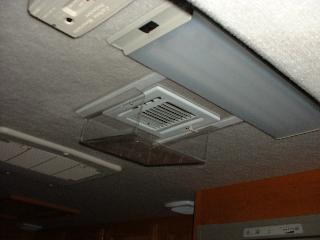
I added a "VanPan" to the air conditioner. This drains the condensation through a tube that is routed down the refrigerator vent and alongside the refer. drain. http://www.van-pan.com
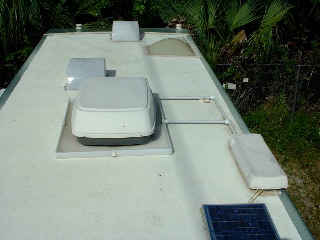
I also added 2 Max-air vent covers.
The seals went bad in the dual pane window on the passengers side. The window manufacturer extended the warranty to 3 years but because I am a second owner I had to pay labor ($150) --(The driver's side window has also gone bad. $280.)--
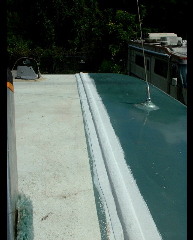
The front roof seam developed a leak. I removed the sealant that was "poured on" and replaced it with EternaBond tape. It was an easier job than I thought it would be. I plan on replacing the rest of the roof caulk this winter.
http://www.eternabond.com/P.S. I have now replaced all the original caulk.